
Now for those of you needing some tips on the installation process of the Tundra flooring, this is for you, especially after that super-duper sale on the flooring from last month!
We choose Ikea's Tundra flooring because overall it’s a great product for the price. Very durable! It wasn’t in my budget to do Pergo. I think Pergo is a slightly superior product (in density and installation) but if you are looking to save money, this is the next best thing! The other products in this price-range looked… cheap. First of all, we had some help in our installation. My brother (a former Lowes flooring manager) and BIL (who does floors for a living) helped us start. If you don’t know someone that’s done this before, don’t worry! Take one of those free laminate flooring classes that Lowes/Home Depot runs. We learned lots from it and got some actual hands-on time in the class.
Tools:
1. The spacer/taping block/metal thing tool kit that Ikea sells.
2. I don’t know much about saws but you’ll need a saw that will cut the boards the long-way and the short-way.
3. A hammer
4. Knee pads like what volleyball players wear. Trust me, your knees will thank you!
5. An old dense paintbrush (to wipe off the dust in the lip before you click and lock)
6. A little hand saw specifically for cutting under door frames
Underlayment:
I don’t think you have to buy Ikea’s brand. You can pick up other brands at a home improvement store. Just don’t buy Ikea’s cardboard-like product. Not good if you have any water issues like we did! Most underlayment is plastic. It’s also usually a moisture-barrier (a MUST if you are installing on a slab) and helps quiet the sound. Check the packaging to make sure about the moisture-barrier. As you lay the sheeting out, you’ll need to tape the seams with special underlayment tape which is available at any home improvement store.
The product itself:
When you buy the flooring, leave it in the boxes. Put it in the room where they will be installed. They need to acclimate in the box in the room for at least 48 hours. If you don’t have central a/c and can install in summer, I’d do it because humidity makes it expand.
Each box has nine boards. While all the boards are the same exact size, they don’t all have the same exact pattern. (Meaning the wood grain look to the board.) If you install them willy-nilly, it looks fine. But it looks fabulous if you install them in the right order because then all the boards look continuous and the seams aren’t as visible. I think there are three patterns. As you open the boxes, you’ll want to separate the each pattern into it’s own pile. Figure out which pattern matches the next pattern. Then install board 1, then 2, then 3, then 1, etc. Hopefully that makes sense! It can get a little tricky because the pattern was a bit puzzling if I remember correctly. It was like 1, 2, 3, 2, 3. It took us a few minutes to figure out something that seemed really simple. lol
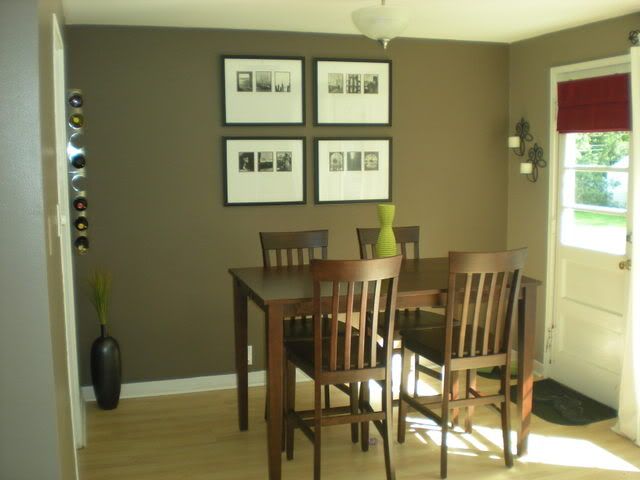
Figure out how you want to run the boards. North to south? East to west? Some things to keep in mind… sunlight. Depending on which way you run it, it can make the seams appear more noticeable. i.e. Our boards run north-south. Our sunlight is mainly southern sun so you see the seams a bit more in the light. (Not really noticeable, IMO.) They “say” that I should have installed it east-west. But my hallway, entryway, and galley kitchen all run north-south and it looks much better when the flooring is run in the same direction.
General installation: Lowes/HD can probably tell you much better than I can. But just some things I remember... The spacers are important because the laminate will expand in hot weather. The spacers help accommodate for this. There will be a gap between your baseboards and the flooring. Purchase some quarter-round and attach it to the baseboard after you install the flooring. My suggestion: paint the quarter-round the same color as your trim. I’ve seen it the same color as the flooring and it just doesn’t look as sharp.
The click-and-lock is pretty easy. Before you actually do that part, I use an old paint brush to dust off the lips of the boards because the grit can prevent the boards from being seamless if you don’t. This is the one very apparent downside to Ikea’s quality. It’s almost like there are little jagged cardboard pieces in there sometimes.
Watch Ikea’s online video regarding the actual installation or youtube it (since their video is a bit of a joke with cartoon characters and no sound. lol But you’ll get the picture.) It shows how to start, how to overlap each row’s seams, etc. The first row you lay is easy because you are only clicking them on the sides. The subsequent rows are a bit more tricky because you are clicking them on the top and sides.
Let’s say you are working on row 2:
Lay down the first board in row 2, click-and-locking it to the board above it. Wiggle the board into place at the top. Make sure it’s seamless all the way across. Sometimes you REALLY have to wiggle it and press into it. Once you lay down the board, the seam disappears if you did it right.
Put the next board close to the previous board but give it a tiny bit of space on the left/right side (depending which direction you are going). Push it into place with the board above it. Then take the plastic tapper and lay it on the side of the board. Tap the block with a hammer until it “clicks” into place with the board on the left/right side. Be careful where you place the tapper. There’s a bit of a ledge you need to lay it on. If I wasn’t careful and didn’t put it on the ledge, I’d break the edge of the board. Very frustrating! But once I figured that out, it was smooth sailing! The metal thingy included in the kit comes into play when you get to the edge of a row because the tapper obviously won’t fit between the board and the wall.
Continue this process until finished. And viola! You have a great looking floor for a great price.


4 comments:
So, you're right. I didn't read it all, BUT I think this may be helpful in the future!
I LOVE you for this post. After I drove myself crazy trying to do the best floor for the least money, I'm gathering every bit of advice I can. And yours is wonderful -- and it gave me confidence that I can do this! Thanks!
Thanks so much for this post. How long did it take you?
It's been long enough that I'm not sure anymore. It was off and on, for about 2 weeks.
We recently pulled up carpet in the 2nd bedroom to install more of the laminate. I think it took us about 6-8 hours including removing the carpet, padding, tiles underneath, and running the shop vac. Really, the easy straight cuts and laying down doesn't take much time. It's the trickier cuts (around/under doorways) that takes some time calculating and shaving off little bits here and there.
Post a Comment