Sunday, January 24, 2010

The Vacation Challenge

I am on vacation this week! Whoohoo! (Although taking it in January seems a bit Pam-esque from The Office. lol) My challenge? Complete as many half-finished house projects as possible. Without spending a dime. Gulp. The reason for the second part of the challenge is because letting me loose in Lowes is not wise. I'll come home with an armful of tools (and a couple gallons of paint) for some new project. And the truth is, I have everything I need for these projects that I started one (or two... or three) years ago.

My current project: the built-in bookcase.


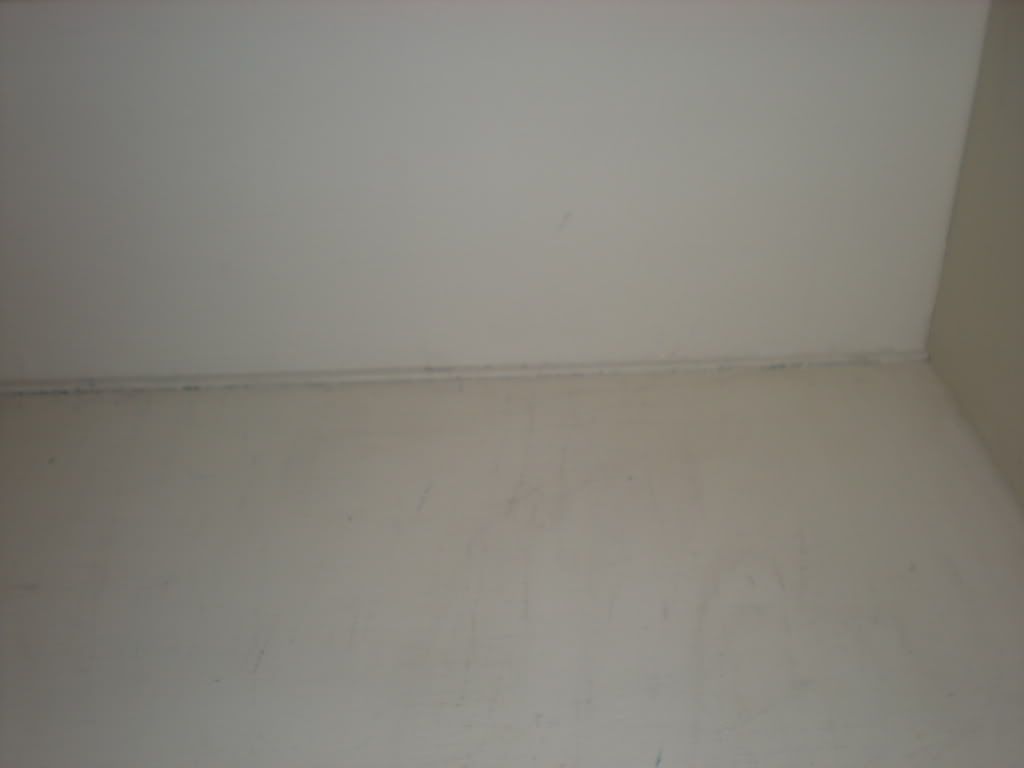
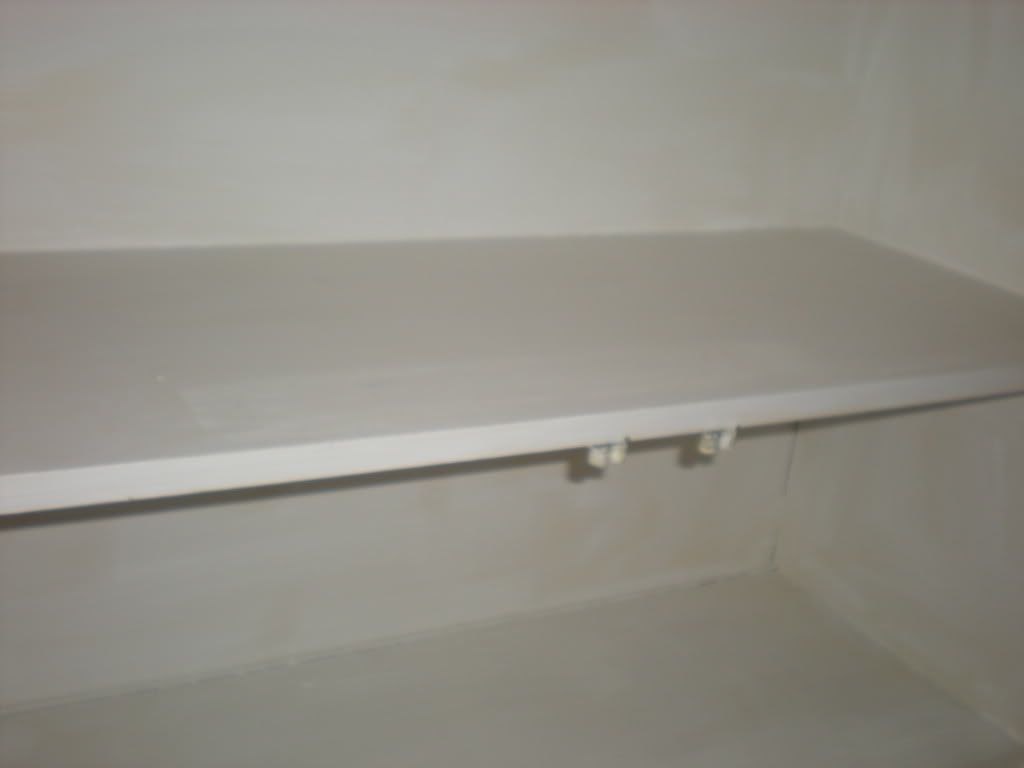
I never finished painting the bottom half when we moved in. It might not be noticeable, but some of the older paint is looking pretty dingy. I never touched the interior and it smells musty. So far one coat of Kilz primer is drying and it already looks (and smells) better. Now the trick is keeping the nosy cats out while it dries.

The picture doesn't do justice to how "blech" it really is.


With one coat of primer up, you can start to see the the old flat color was really a dull beige. I can't wait until I slap on some semi-gloss bright white and organize it all nice and pretty. lol

Saturday, January 9, 2010

It's the Little (Lame) Things that Make Me Happy

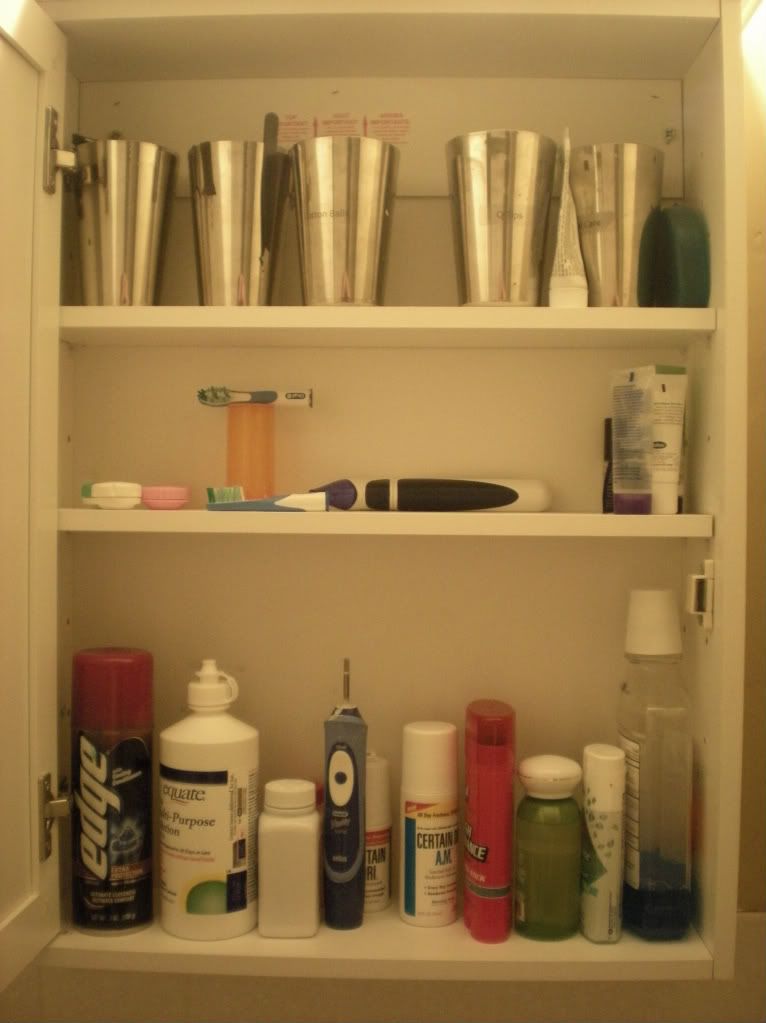
When I replaced the medicine cabinet, I worked on some new ways to organize. It... worked. But wasn't ideal. It got messy fast. I originally purchased the Ikea Semvik tumblers to store cotton balls, cotton swabs, and other miscellaneous items.


You would think it'd be pretty easy to remember which tumbler contained which items. However, one household member just couldn't retain that information. I thought I was smart when I printed up some clear labels. But the tumblers show fingerprints and get dirty fast. When I'd wipe down the containers, the printing would slide right off. Another clear label on top of the printed label and viola! Problem solved. Until the tumblers started to look... rusty.

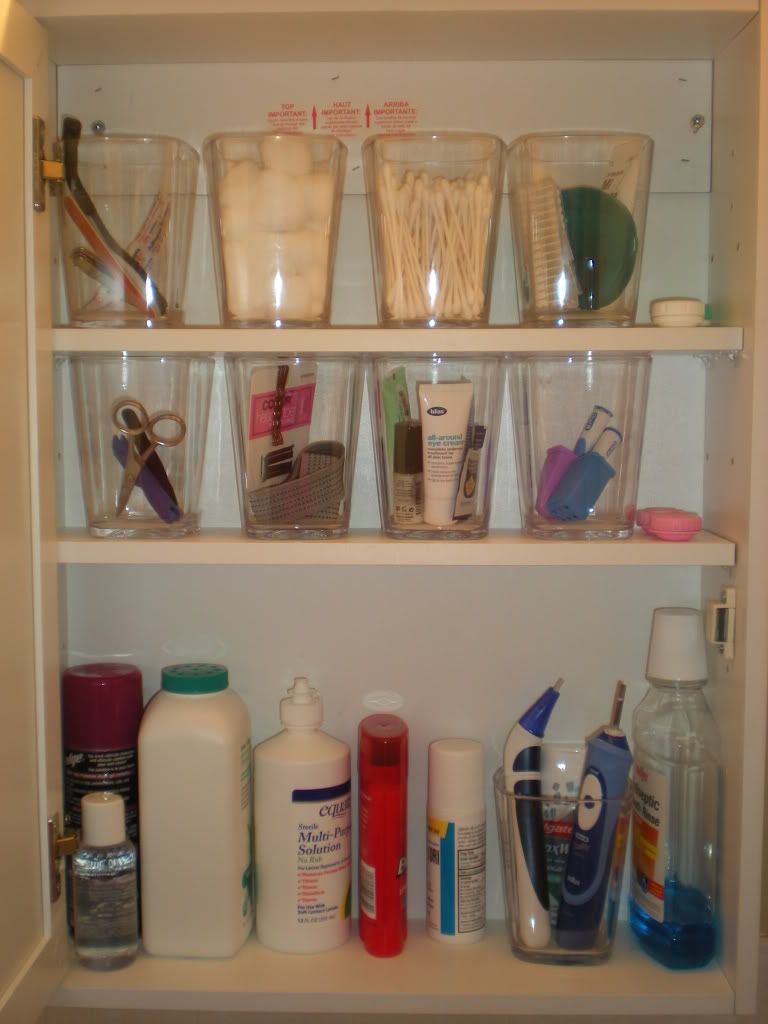
Enter the unbreakable acrylic tumblers at Target for $2.50 each. Normally I'm not a fan of clear storage. I don't like looking at clutter. But really, who is going to be looking in my medicine cabinet except for me and Matt, and uh, I guess my blog readers? (Unless you're one of those snoopy guests. lol)


Basically, everything has to fit in my medicine cabinet. Nothing is stored in 21 inch wide vanity because it is pretty yucky under the sink. It's old and needs to be replaced. And this is good practice for when we replace the vanity with a plain old pedestal sink. So I tell myself, anyway.

Saturday, January 2, 2010

Banjo Countertop, Be Gone!

I've decided no new projects until I finish the ones I have started. That is my biggest downfall: no follow-through. I usually give up when projects are about 80% done. "Oh, I'll get back to it later" and then I never do.

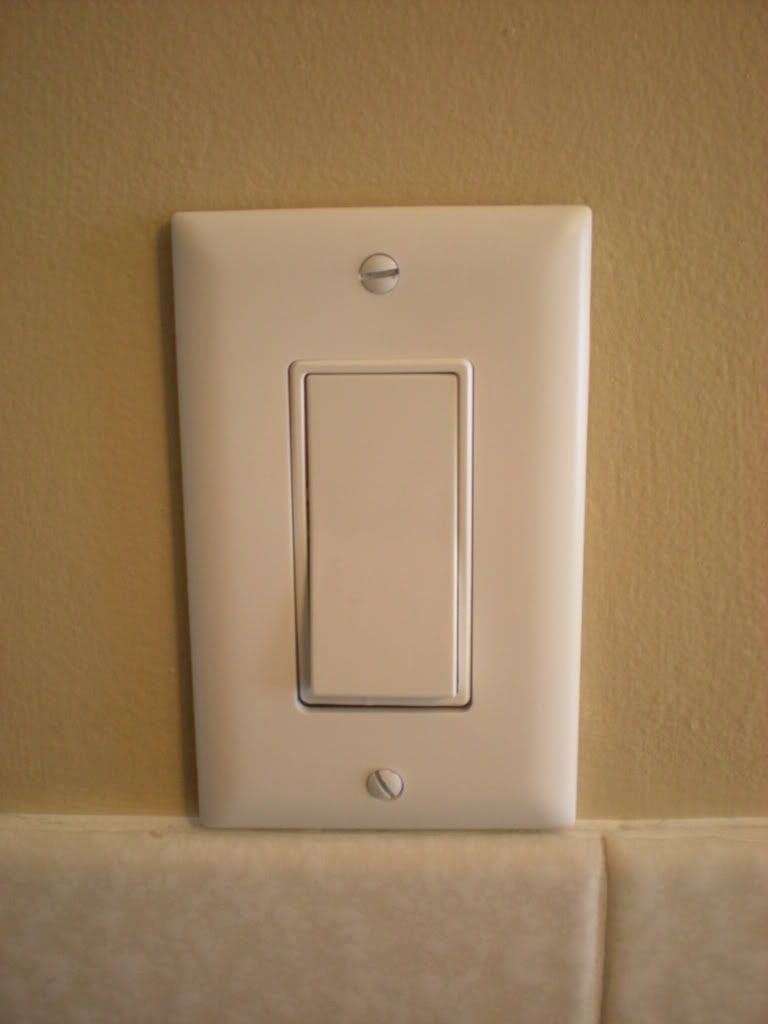
Do you know how long the bathroom has been missing its wallplates on the lighting and fan switches? Yeah, about a year! That's a safety issue too. :( It's not that I haven't tried. I just could not get the screws to line up for some reason. But today, I conquered all! Or at least the wallplates.


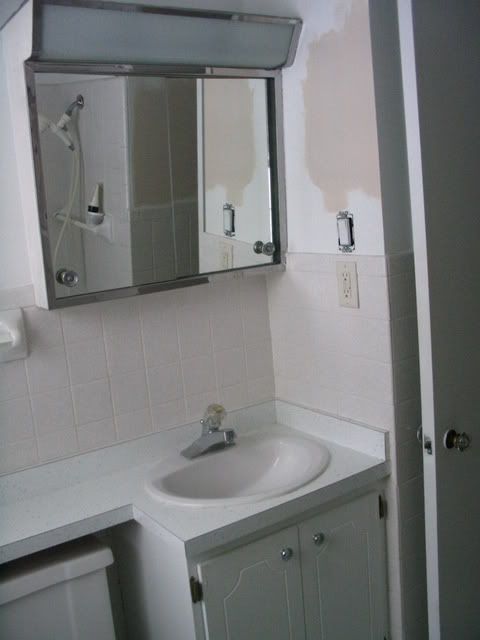
Now let me show you around the rest of the bathroom. When we bought the house, we were blessed with this beauty of a medicine cabinet. Even better, the shelves were practically rusted through.


Don't mind the paint swatch on the wall. At one point, there were seven different patches of colors up on the wall. For a year. We ended up with Sherwin William's Kilim Beige. It was just leftover paint from the hallway. It's best represented in the wallplate picture above.

Please also don't focus on my nemesis: the banjo countertop that extends over the toilet. We'll eventually replace with a pedestal sink.


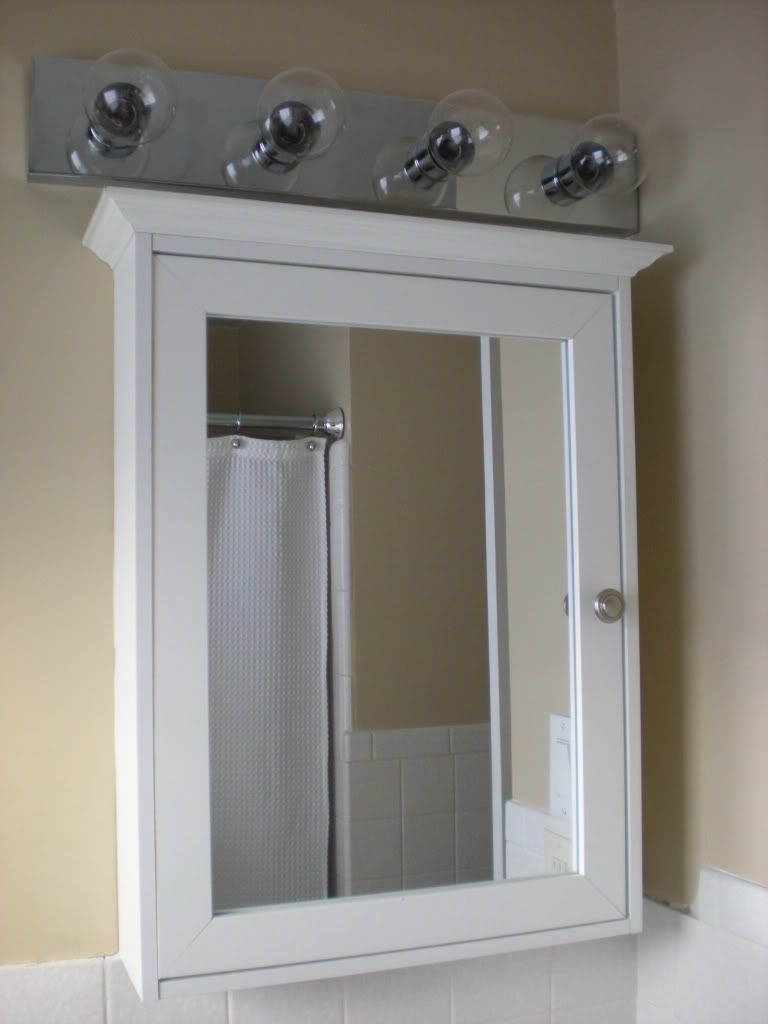
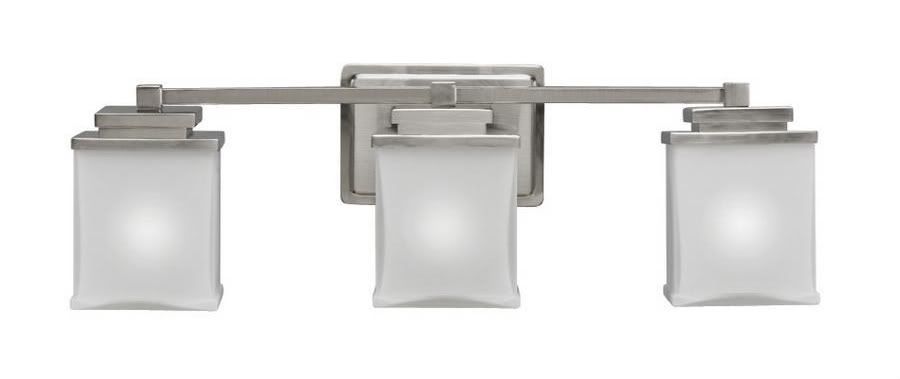
I still have some tile edge pieces to finish. See what I said about unfinished projects? I'm not in love with the light fixture but we were really limited by the space. Our ceilings are too low to fit in something pretty like this:


Trust me, we tried. The light doesn't reflect right. It needs to shine out, not down. But we'll keep looking. In the meantime, these $18 lights work just fine for now!

Stay tuned for when I show you around the rest of the bathroom in two follow-up posts: organizing the linen closet and organizing the medicine cabinet. Who knows, maybe I'll even treat you to more of the banjo countertop, complete with the cut-out for a box of tissues. Lovely.

Project Cost Breakdown:
Lighting: $18
Medicine Cabinet: $88
Paint: free (leftovers)
Lightswitches and plates: $4

Total cost: $110

Friday, January 1, 2010

A Day (Or Months) Late

I should have posted a follow-up to my 2009 resolutions yesterday. But I guess today is as good as ever! Last year, I posted a very loooooong list of things to do around the house. But we'll get to that in a second. Let's first talk this year's resolutions:

  • Finish 2009's list
  • Blog once a week!
I used to love it then it began to feel like a chore. I made a concentrated effort to stop spending so much time online. It was nice! But I do miss updating with projects and I'm very behind on my Google reader. Like 2000 blog posts to read! lol


Ok, so let's see how well I did with the 2009 list, considering I pretty much did NOTHING to the house in the last few months.

Living Room/Dining Room
1. Replace all outdated electric outlets
2. Hide the cords in the entertainment center
3. Paint the baseboard
4. Replace damaged floor boards
5. Attach quarter round
6. Replacement blinds for backdoor
7. Decorate entertainment center
8. Rug to help anchor the space
9. Organize entryway closets (one for hanging items, one with shelves and baskets)
10. Paint interior of entryway closets (Um... one down, one to go)
11. Finish painting exterior of built-in
12. Prime and paint interior of built-in (and start using it to store things!)
* Wish list: flat panel TV (come February!), new couch and chair, more grown-up coffee table

Kitchen
1. Replace GFI outlets with matching ones that I bought a year ago
2. Replace damaged floor boards
3. Attach baseboards and quarter round
4. Replace ugly fluorescent light above sink to something more modern
5. Hook up the garbage disposal that was installed nearly 18 months ago
6. Start planning for new Ikea kitchen cabinets and countertops in 2010 Now I just need the funds! lol

Laundry Room/Mud Room
1. Prepare walls for painting (sanding area where cabinets were removed)
2. Paint ceiling
3. Paint walls (same color as living room)
4. Install tile Halfway there!
5. Organize space for shoes, coats, hats, etc.

Hallway
1. Replace outdated eletrical outlets
2. Repaint with satin finish
3. Paint baseboards
4. Hang pictures

Master Bedroom
1. Replace all outdated electric outlets
2. Repaint
3. Purchase comforter and duvet cover for new bed
4. Install closet organizer (already purchased) Decided against this idea
5. Purchase matching lamps for nightstands
6. Paint doors and baseboards

2nd Bedroom
1. Replace all outdated electric outlets and light switch
2. Install new carpet
3. Remove 50% of items and give to Goodwill Hah! Removed close to 90% of the items!
4. Install shelves (already purchased) What the heck was I even talking about here??
5. Paint doors and baseboards
6. Prime and paint interior of closet
7. Find a better way to hide litter box
* Wish list: Bed for guests (Hmm, guess I'd have to move the litter box then!)

3rd Bedroom (a.k.a. Man Room)
1. Decor for walls
2. Paint baseboards and doors
3. Give 75% of stored items in closet to Goodwill
4. Paint interior of closet

Bathroom
1. Finish flooring in linen closet
2. Paint walls
3. Recaulk tub Hallelujah! Silicone caulk is the guaranteed way to go. Even the bathroom-designated latex caulk isn't worth it. Silicone is a little messier but WAY better.
4. Replace toilet Wasn't on the 2009 list but was on the Ultimate list. The leaking toilet just forced us to do it this last year. And I love it! Well, as much as you can love a toilet.

Exterior
1. Plant grass in bare spots
2. Add additional ornamental grass to front yard
3. Plant ground cover on side of house Changed this to hosta and halfway done!
4. Finish weeding and mulching retaining wall
5. Clear overgrown weeds from back fence LOLOLOLOL No longer on the list. It was just groundcover but I'll PAY to have someone do this.
6. Dispose of the ginormous tub of river rock
7. Paint exterior of workshop
8. Scrape and paint all trim
9. Replace both water spickets One down, one to go!


Whew! I got a lot done but I feel like I failed because there's still so much to do. (I know I'm just too hard on myself!) But the house improvements are never ending anyway, right?? :) I hope everyone had a great holiday and you'll be hearing from me soon!

Monday, November 23, 2009

The Dust Bunnies are Multiplying Exponentially

There is a reason why my house is a mess and I haven't posted in ages. We have a new addition to the family. No, no babies. I am becoming the crazy cat lady.

I swear, I only went to PetSmart to pick up cat litter! Deceptively, they have kittens from local shelters in nearby window cubbies. I recognized one from a couple months ago. She was very needy and would rub all over the Plexiglas window if you held your hand up. After I read the description that she'd do best in a household with another active cat, I knew she'd be right for us. And roughly 15 minutes later, I was bringing home a kitten. lol


The transition had me quite worried. We separated her in another room and were slowly acclimating the other cats with her. Linus guarded the door 24/7. Lucy would just hiss. But after some time, everybody just loves each other!


Maybe now I'll finally get to hanging my dining room light fixture. (Three months after I was anxiously awaiting it to be delivered.)

Sunday, September 6, 2009

Flipping It Around

For the last year, I've debated flipping the living room with the dining room. The current layout, which is L-shaped, isn't very efficient. There's a LOT of wasted space in some areas and very tight quarters in others.

Current layout:


(Click to enlarge)

Layout via floorplanner.com.

See that space behind the loveseat? It needs to be somewhat open to access the built-in. I couldn't push the furniture against the adjoining wall due to TV placement. Overall, the current set-up was making the best use of the space. I even tried moving things around via Floorplanner and even the graph paper method.

After we had some new (smaller) living room furniture delivered last week, I decided to try the living room/dining room switch. Perfecto!


Here's a sneak peak of things to come (in its initial stages):


There's still a lot to do...
  1. Change ceiling light fixture.
  2. Purchase white coffee table, end table, and paint entertainment unit.
  3. Decor for end table and back wall.
  4. Add texture and lighten up the area via throws and rug.
No pictures of the dining room yet until I get my new dining room light. I found the perfect one for us, considering that the electrician won't be coming out any time soon. (It can be easily converted to hardwire.) So purty, isn't it?


I was unsure of entering into the house into the dining room. But it doesn't feel that way at all. And it's soooo much more open and airy with ample space to walk around. Much more entertainment-friendly!

Thursday, August 27, 2009

The Hopeless Garage Door

What do you do when the previous homeowner decides to put in this beauty of a garage door?


(from our initial walk through)

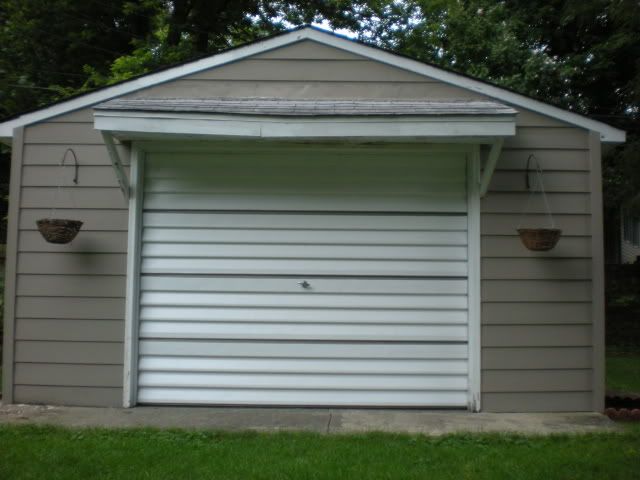
Yes, you are looking at that right. It is one of those yellow plastic rolling commercial garage doors. It was such an eyesore! To replace it would have set us back about $300. I have more important projects to spend that money on so what's a girl to do? Grab a can of paint, of course!

I thought painting it was out of the question because it was plastic and because it rolled. The light bulb came on once I realized the sections didn't actually bend. (Can you tell how often I actually go out to the workshop? lol)

I picked up a quart of enamel paint at Lowes. I took a deep breath and then just started painting. What I should have done was tested out a spot. What I should have done was tested its durability. Instead, I just went for it with this uneasy feeling that it might be peeling by next summer. No worries though! I scrubbed, scratched, and pressure washed after the first coat was up. It's not budging!


I hung the planters a little too low. (Tip, don't attach them without the planters nearby. For some reason I thought the chain was much shorter.) But overall, I LOVE LOVE LOVE it. Why have I been living with this ugly door for so long??

Some more before/afters:


I'm undecided about the side door color. I really think it would look better white but Matt pointed out how dirty it gets. Who knows how long it will stay this color. :)

Project Cost Breakdown:
Enamel paint: $10
Total: $10 Yep, that's it! Ugliness erased with only $10. If you count the paint for the entire workshop, it only set me back about $40. But that is a whole 'nother post where I cry about the scraping and sanding.